Point'N'Turn
The cure for video call paralysis is here! Take back the control in online meetings with two simple devices.

Laser pointer
Instructions coming soon...
The cure for video call paralysis is here! Take back the control in online meetings with two simple devices.
Instructions coming soon...
Enter following into Additional Board Manager URLs field in the Arduino Settings (image 1)
http://arduino.esp8266.com/stable/package_esp8266com_index.json
Use Tools -> Board "..." -> Board manager to find ESP8266 boards (image 2) [tested version 2.2.0]
(Above steps are similar to what official Adafruit page says, but the page is outdated and too complicated for our purposes.)
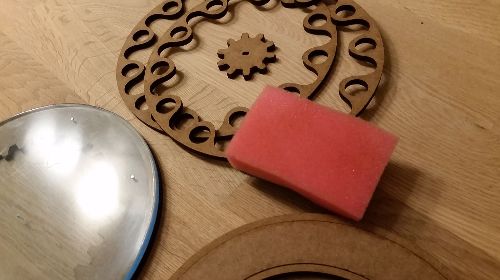 |
Remove the sticky laser-smoke.stuff from the parts |
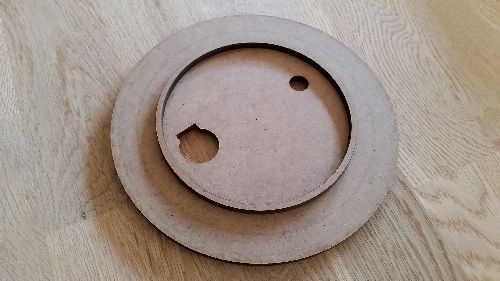 |
Glue 6 mm ring under the plate |
 |
Make a litle cut for the wire to escape. |
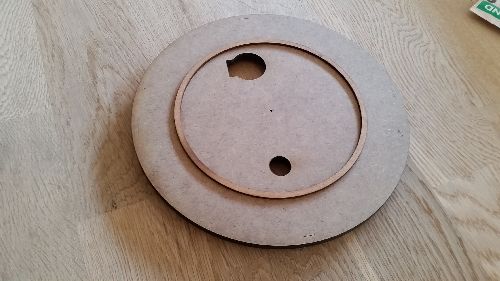 |
Glue 2 mm ring on top of the plate |
 |
Glue one bolt onto the center of the plate |
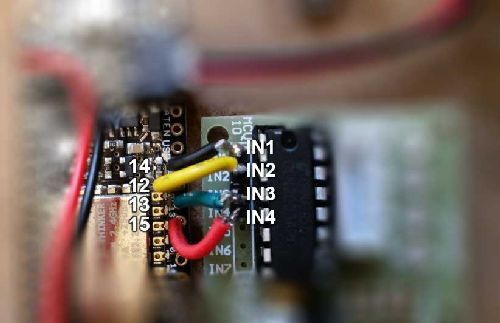 |
Solder together:
|
 |
Solder power from the ESP8266 port 3V and GND to the power input on the Control ULN2003 |
 |
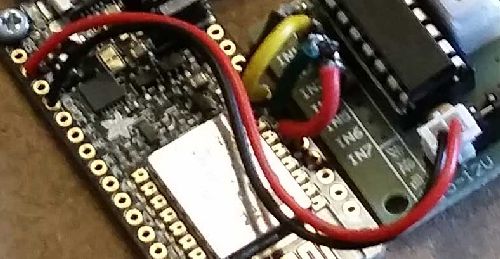
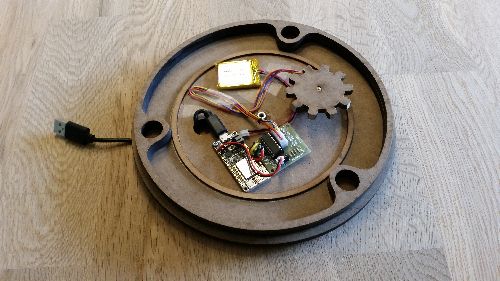
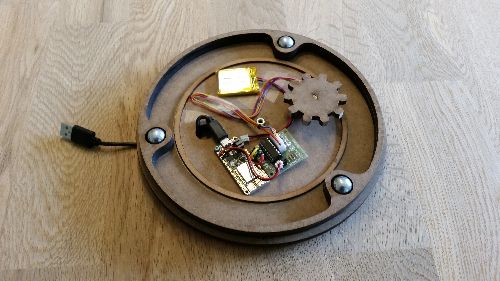
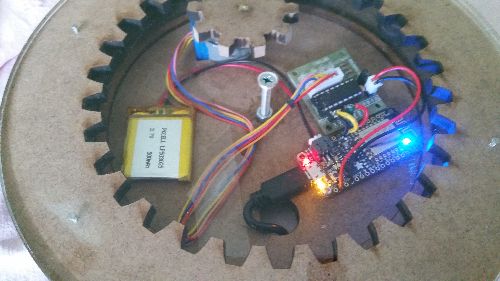
Apply electronics to the board:
|
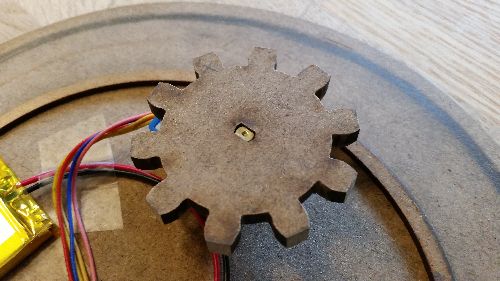 |
Attach the gear to the steppermotor |
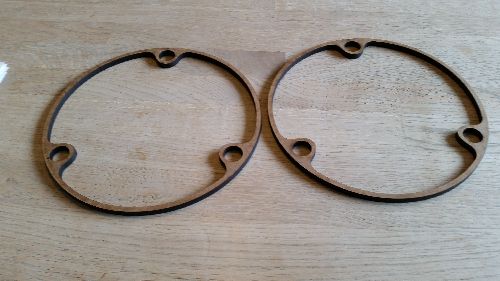 |
Glue the two rings together |
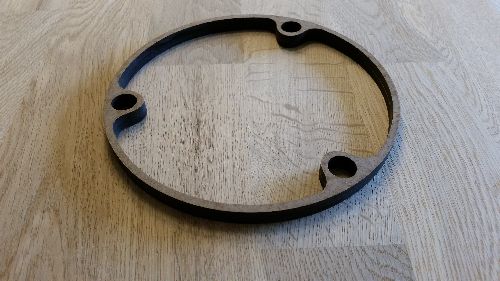 |
Like this |
 |
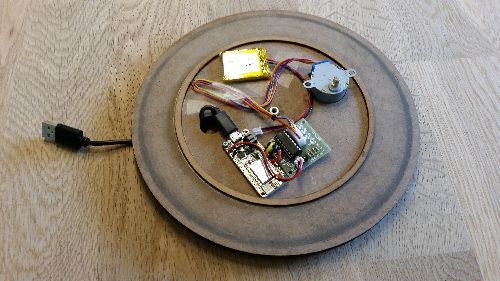
Place it on the board |
 |
Put the marbles in the 3 holes |
 |
Drill room for the screwhead in the center of the acrylic plate. |
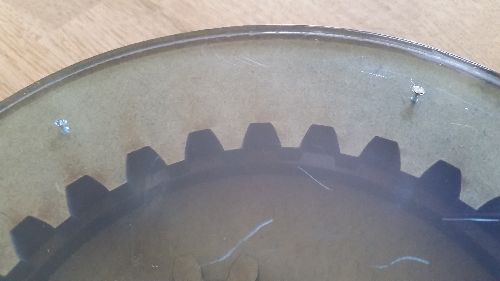 |
Attach the acrylic plate on to the ring-gear with the 1x12mm. nails. Dont use a hammer. Just press them into the holes. If necessary gently use a pliers Remove the protective film |
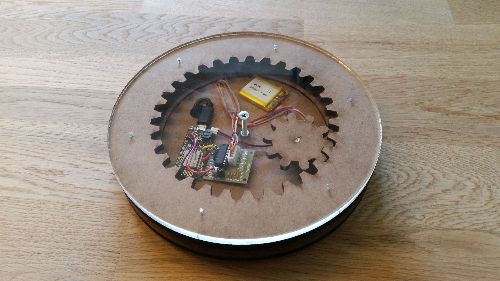 |
Place the acrylic plate/ ring-gear on the board. Make the gears fit together. turn the screw tight and then turn like 90 degrees backwards. |
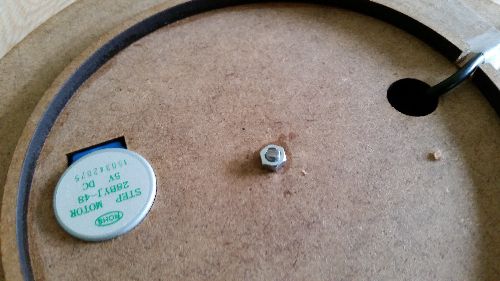 |
Tighten the bolt at the bottom of the board |
 |
Charge the battery.
Upload the code to the board. Go to the web app on a device of your choice .... and rock'n roll
|
In the first step you chose your unique device ID. Now it's time to use it! Go to our Point'N'Turn app, input the device ID and enjoy the moving magic!